Ingredients
Equipment
Method
Make the Chí Chương (2 to 3 days ahead)
- Combine the chopped red chilies, garlic, tomatoes, salt, and sugar in a clean glass jar. Stir to combine. Do not blend. The ingredients should remain roughly chopped, not pureed. Cover the jar with a piece of cheesecloth or a loose lid. Do not seal it airtight. The fermentation process requires airflow.
- Leave the jar at room temperature for 2 to 3 days, stirring once daily. The sauce is ready when the color has deepened to a vivid orange-red, the liquid has separated slightly, and the smell has developed a sharp fermented edge. Taste it. The heat should be upfront and the sourness should follow. Refrigerate once ready. It keeps for up to 2 weeks.
Make the Dough
- Combine the lukewarm water and yeast in a small bowl. Stir and leave for 10 minutes until the surface is foamy. If no foam appears the yeast is inactive. Do not proceed with dead yeast. The foam is the confirmation the yeast is alive and will leaven the dough correctly.
- Combine flour, salt, and sugar in a large bowl. Add the yeast mixture, white vinegar, and neutral oil. Mix until the dough comes together into a rough mass. Turn out onto a lightly floured surface and knead for 10 to 12 minutes until the dough is smooth, elastic, and springs back when pressed with a finger. The vinegar is not optional. It tightens the gluten structure in the outer layer of the dough and produces a thinner, crispier crust during baking. Without it the shell is thicker and chewier.
- Place the dough in a lightly oiled bowl, cover with a damp cloth, and leave to proof at room temperature for 1 hour to 1 hour 30 minutes until doubled in size.
Shape and Bake
- Preheat the oven to 220°C / 425°F. Place a small oven-safe dish of water on the bottom rack. The steam created during the first stage of baking prevents the crust from setting too early, which allows the bread to expand fully before the shell locks in place.
- Punch down the dough and divide into 16 equal pieces, roughly 50g each. Roll each piece into a thin log roughly 12cm long and 2cm wide, tapered at both ends. They should look like thick chopsticks. Place on a lightly floured baguette pan or baking tray, spacing 3cm apart.
- Cover loosely and leave to proof for a further 20 minutes. The rolls will puff slightly but should not double. Over-proofing at this stage produces a thick, bready interior rather than the correct hollow shell.
- Bake at 220°C / 425°F for 16 to 18 minutes until the crust is pale golden and sounds hollow when tapped on the bottom. Do not open the oven in the first 10 minutes. The steam must remain trapped to produce the correct crust texture. Remove from oven and cool on a wire rack for 5 minutes before splitting.
Assemble and Serve
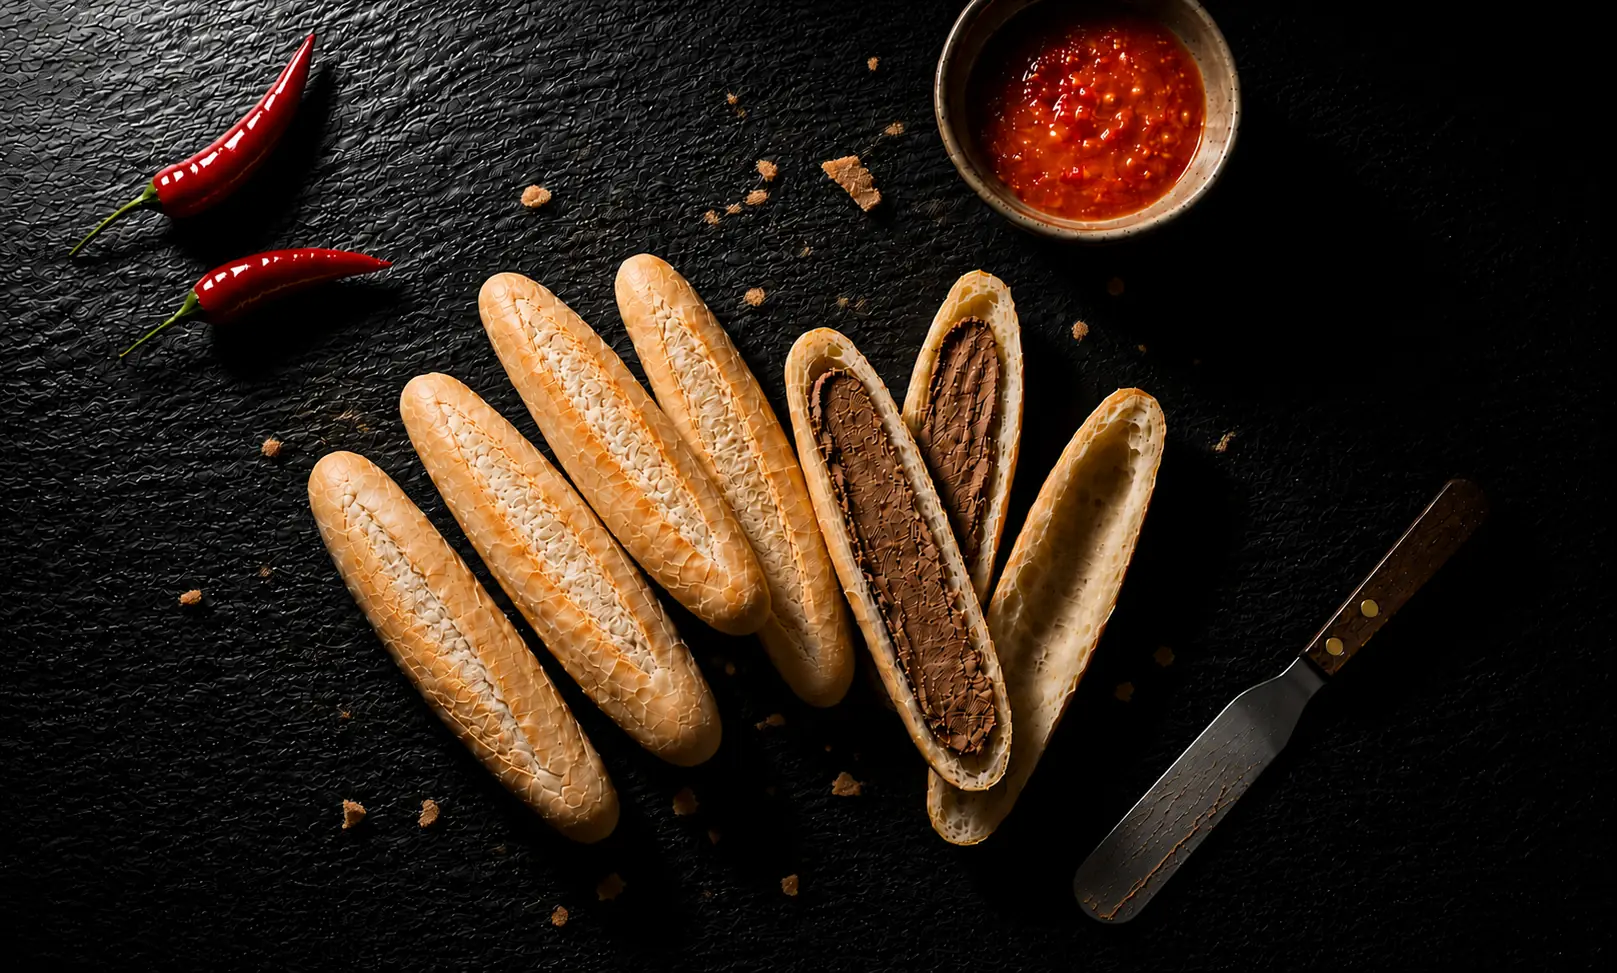
- Split each roll lengthwise, cutting three-quarters through. Do not cut completely. Using a pâté spreader or offset spatula, spread pork liver pâté generously along the full length of the bottom half. The pâté should fill the interior completely. This is not a light spread. It is the entire filling.
- Serve immediately with chí chương in a small bowl on the side. Dip each roll into the sauce before each bite. Eat while the bread is still warm. A cold bánh mì que has a leathery crust and loses the textural contrast that defines the dish.
Notes
On the chí chương: The fermented chili sauce is not a shortcut ingredient. It cannot be replaced with sriracha or standard chili sauce. The fermentation develops a sour, funky heat that fresh chili sauce does not have. The fermented flavor is what cuts through the richness of the pâté. If you do not have 2 to 3 days to ferment, the dish is still worth making with a fresh chili sauce. But the authentic result requires the fermented version.
On the dough size: Each roll should weigh roughly 50g before baking. Larger rolls produce a thick-walled interior that does not hollow correctly. Smaller rolls produce a shell too thin to hold the pâté without collapsing. 50g is the correct weight for the authentic finger-sized result.
On the vinegar: White vinegar in the dough is the key technical difference between bánh mì que and a standard small baguette. The acid tightens the gluten network in the outer layer and accelerates crust formation in the oven. The result is a thinner, more brittle shell. Use unseasoned rice vinegar or plain white vinegar. Do not use apple cider vinegar.
On the hollow interior: A correctly made bánh mì que has very little crumb inside. The interior is almost hollow. This is not a defect. It is the correct result. The hollow space fills with pâté when the bread is pressed together after spreading. If the interior is dense and bready the oven temperature was too low or the rolls were over-proofed before baking.
On serving temperature: Bánh mì que is a hot food. The bread should be split and filled within 5 minutes of coming out of the oven. Street vendors in Hai Phong bake continuously throughout the day and sell each batch within minutes of it coming out. At home, bake in two batches if needed so each serving is as fresh as possible.
On the pâté quantity: 200g of pâté for 16 rolls produces roughly 12g per roll. This is the correct ratio. The pâté should be visible when the roll is split open and should coat the full length of the bread. Store-bought pâté works correctly here. Flower Brand pâté is the most widely available and produces a good result.
On serving size: This recipe makes 16 rolls. Four rolls per person is the correct serving for bánh mì que as a snack or light breakfast. Street vendors in Hai Phong sell them individually and most customers eat 3 to 6 at a sitting. Unlike every other recipe in the archive which yields one sandwich per person, bánh mì que is always eaten in multiples.
On storage: Bánh mì que does not store well. The crust softens within 2 hours at room temperature. Bake only what will be eaten immediately. The unbaked shaped rolls can be refrigerated overnight and baked directly from cold the following morning, adding 3 to 4 minutes to the baking time.